How to Adjust Headlights Without a Machine: Exact Steps
To adjust headlights without a machine, park on level ground, set tire pressures, and aim the cutoff so it sits about 2 inches below the bulb-center mark at 25 feet, then fine-tune each beam. A mis-aimed beam can shorten your sightline at night or throw glare into oncoming traffic. This guide shows a no-machine method using pattern checks, reference distances, and fail-safe checks when a wall setup is impractical.
Why headlight aim matters before you touch the screws
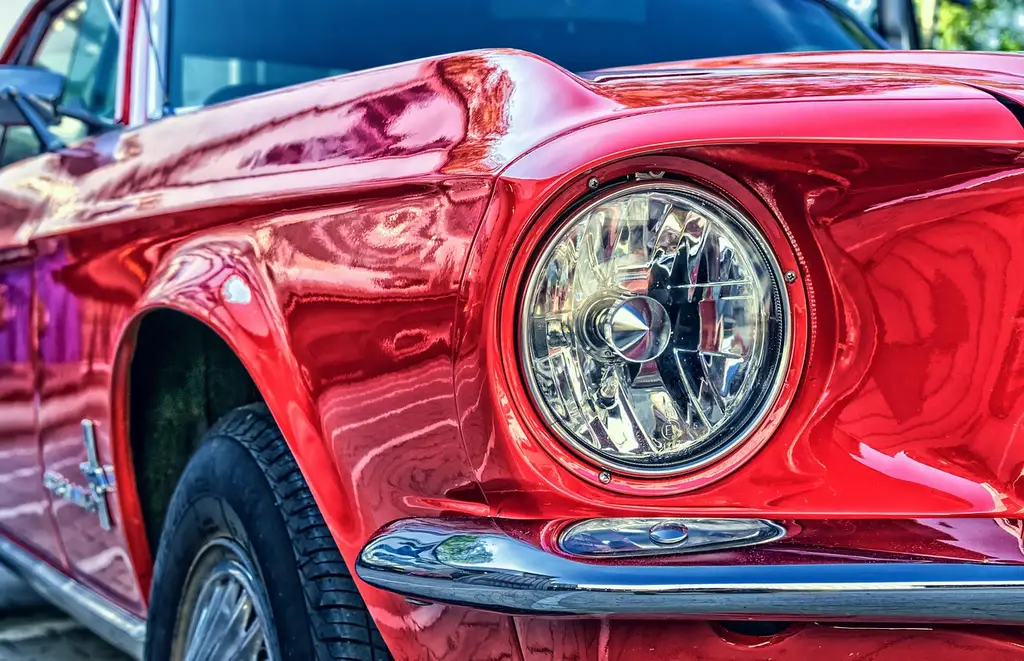
Misaligned headlights contribute to 10% of night crashes, and correct beam patterns cut pedestrian risks by 25%. That makes aim a safety issue, not a cosmetic one. Low beams come first because they are the primary mode for aim checks and should not throw glare into oncoming traffic.
Bad aim shows up fast on the road. Too high, and the cutoff washes signs and mirrors. Too low, and the beam fades before the lane does. If one side looks different from the other, do not assume the adjuster is the only problem.
How bad aim shows up on the road
Look for a beam that points at tree canopies, a cutoff line that slopes oddly, or a hot spot that sits too far left or right. A hot spot is the brightest part of the beam. It should sit near the marked target point, with the beam pattern staying symmetric side to side.
Why low beams come first
Low beams are the baseline because they are the legal road-lighting mode and the one other drivers actually see first. Federal rules require low beams to illuminate 75 feet ahead. High beams are not the starting point for aim, and they can hide a low-beam problem.
When beam pattern clues point to a larger problem
If the beam cannot be centered even after small turns, check tire pressure, rear cargo, suspension height, and crash damage. A rear load can raise the front aim. Worn springs or a bent lamp bracket can do the same. In those cases, screw turns will not solve the root cause.
📊 Misaligned headlights contribute to 10% of night crashes. Source: How to Adjust Headlights Left and Right Car.
What tools and checks do you need first?
You need a tape measure, masking tape, and a screwdriver with the correct tip for the adjusters. Check tire pressure, vehicle load, and ride height before you touch any screw. Then find the adjusters in the owner’s manual, because screw location varies by vehicle and some are hidden behind the headlight assembly.
Tape measure, masking tape, and a screwdriver
A tape measure is recommended for exact distances. Masking tape is used to mark wall lines. The toolkit includes a Phillips or flathead screwdriver, but the right tip depends on the vehicle. Use quarter turns only; that keeps you from overshooting the target.
Check tire pressure, vehicle load, and ride height
Uneven tire pressure changes ride height and aim. Rear cargo can tilt the beam upward, which makes the low beam look “wrong” even when the screw is fine. Park the car empty unless the owner’s manual says the normal driving load should be present.
Find the adjusters and confirm access
One screw typically moves the beam left-right, and the other usually moves it up-down. The guide advises checking the owner’s manual for screw locations. If an adjuster is stripped, seized, or blocked by trim, treat that as a repair issue, not a normal aiming step.
How do you aim headlights without a wall?
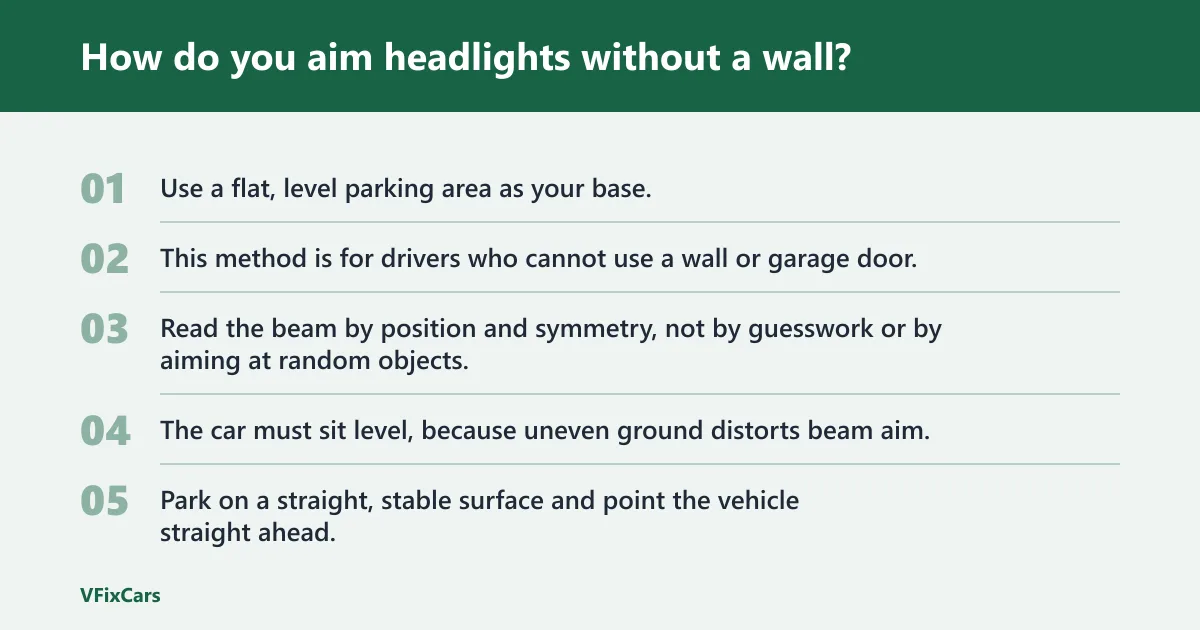
Use a flat, level parking area as your base, then use a distant reference point and the road edge to judge where the cutoff lands. This method is for drivers who cannot use a wall or garage door. Read the beam by position and symmetry, not by guesswork or by aiming at random objects.
Use a flat, level parking area as your base
The car must sit level, because uneven ground distorts beam aim. Park on a straight, stable surface and point the vehicle straight ahead. If the surface slopes, the beam can appear correct while the lamp is actually aimed high or low.
Use a distant reference point when a wall is not available
Pick a flat object in the distance, such as a fence line, garage edge, or straight curb line, and note where the cutoff lands on each side. The goal is to compare left and right beam height and shape. This is slower than wall aiming, but it is workable.
Track the beam cutoff and hot spot by position, not by guesswork
Mark the hot spot and cutoff position in your notes. Then turn the adjuster a quarter rotation and compare again. If a heavy trunk load pushes the right beam higher, the load is the cause. Remove the extra weight before you chase the screw.
How do you set up a wall or garage-door reference?
Measure headlight center height, mark the wall with masking tape, and park the car 25 feet from a flat wall or garage door. The vertical target line is set headlight height minus 2 inches. Keep the car square to the wall so the reference is reliable.
Measure headlight center height
Measure from the ground to the center of each low-beam bulb or projector lens. Use the lower of the two if they differ. That height becomes the basis for your tape marks and for the target line that the cutoff should sit under.
Mark centerlines and height marks with masking tape
Place one vertical tape line in front of each headlight center, then add a horizontal line at headlight height. Add the target line 2 inches below that height. Masking tape makes temporary marks that are easy to remove after the adjustment is done.
Choose a safe stand-off distance and keep the car square
The guide recommends parking 25 feet from a flat wall. That distance gives enough room to read the beam shape without crowding the pattern. Keep the steering wheel centered and the front wheels straight so the lamp aim reflects the lamp, not a turned chassis.
| Reference item | Practical value | What it means |
|---|---|---|
| Wall distance | 25 feet | Stand-off for a readable beam pattern |
| Vertical target line | Headlight height minus 2 inches | Starting point for low-beam cutoff |
| Low-beam forward reach | 75 feet | Minimum forward illumination requirement |
| Adjustment step | Quarter rotations | Small enough to avoid over-correction |
Which screw adjusts left-right and which adjusts up-down?
The horizontal adjuster moves the beam left and right, while the vertical adjuster moves it up and down. Clockwise turns often move the horizontal aim right and lower the vertical beam. Counterclockwise turns often shift the horizontal aim left and raise the beam. Location and access vary by vehicle.
Horizontal adjuster basics
Use the horizontal screw to center the hot spot on the marked left-right reference. On many lamps, clockwise turns move the beam right, and counterclockwise turns move it left. Turn a little, stop, and check the new position before you move again.
Vertical adjuster basics
Use the vertical screw to bring the cutoff to the target line. Clockwise turns lower the vertical beam, and counterclockwise turns raise the beam. The aim is a clean cutoff that sits just under the reference, not a beam that climbs into oncoming traffic.
What to do when the adjuster is hidden, seized, or stripped
Some screws are hidden behind the headlight assembly, so access may require removing trim or a cover. If a screw is seized, stripped, or missing, stop before damaging the housing. A broken adjuster often needs parts replacement, not more force with a screwdriver.
How do you read the beam pattern by eye?
Read the cutoff, hot spot, and symmetry of each lamp. Projector, reflector, and sealed-beam headlights do not behave the same, so the pattern matters as much as the screw position. Some European lights may use asymmetrical low-beam cutoffs, so the target point and expected shape can differ.
Projector, reflector, and sealed-beam differences
Projector lamps usually show a sharper cutoff. Reflector lamps often spread more light and may look less crisp. Sealed-beam units can be simpler to read, but they still need correct aim. Do not use one pattern type as the standard for another.
Symmetry checks for left and right lamps
Both lamps should land at similar height and similar left-right position unless the design calls for a deliberate offset. If one side differs after checking load and tire pressure, inspect the adjuster and mount. A crash-bent bracket can mimic a bad aim screw.
How asymmetrical cutoff patterns change the target point
Some European beam patterns rise on the passenger side to light signs without glare. That rise is intentional. In that case, aim to the manufacturer’s pattern, not to a flat line. The cutoff shape should match the lamp design, not fight it.
Printable headlight-aim worksheet and no-wall fallback checklist
Use this worksheet before and after you adjust. It gives you a quick record of the setup, exact turn counts, and symptom tracking. If you cannot use a wall, it also keeps the no-wall method organized so you do not lose track of the cutoff or hot spot.
Worksheet
| Item | Before | After |
|---|---|---|
| Vehicle level check | Pass / fail | Pass / fail |
| Tire pressure check | Front: ____ Rear: ____ | Front: ____ Rear: ____ |
| Screw ID | Horizontal / vertical / hidden | Horizontal / vertical / hidden |
| Exact turn count | 0 / 1/4 / 1/2 / other: ____ | 0 / 1/4 / 1/2 / other: ____ |
| Beam notes | Cutoff: ____ Hot spot: ____ | Cutoff: ____ Hot spot: ____ |
| Symptoms | Glare / low aim / uneven / other | Glare / low aim / uneven / other |
No-wall fallback checklist
- Confirm the car sits on a flat, level surface.
- Check tire pressure at all four tires.
- Remove extra cargo unless normal load is required.
- Find the horizontal and vertical adjusters.
- Note whether the pattern is projector, reflector, sealed-beam, or asymmetrical.
- Make one quarter rotation at a time and recheck the beam after each turn.
- Record cutoff height, hot spot position, and any glare symptom.
When should I stop DIY and get a technician to align headlights?
Stop DIY when the vehicle has auto-leveling lamps, complex adaptive lighting, damaged brackets, seized or stripped adjusters, or a pattern that will not respond after basic checks. Those systems often need professional alignment tools or dedicated aiming equipment. If the beam still looks wrong after load, tire, and ride-height checks, get it inspected.
Crash damage, suspension wear, or uneven ride height can also push the lamp out of range. If the vehicle sits crooked, or if one lamp cannot be adjusted without forcing parts, a technician should handle it. That is especially true for hidden adjusters and headlamp assemblies with limited access.
Frequently asked questions
how to adjust headlights without machine
Park on level ground, verify tire pressure, and set the low-beam cutoff to the target line using small screw turns. If a wall is available, use the 25-foot method. If not, compare cutoff height and hot spot against a stable distant reference and record every change.
how to adjust your headlights at home
Start with low beams, check load and ride height, and identify the horizontal and vertical adjusters before you turn anything. Use masking tape, a tape measure, and a screwdriver with the correct tip. Make quarter rotations, then recheck the beam pattern after each change.
how to adjust headlights without a wall
Use a flat, level parking area and a distant straight reference such as a curb line, fence, or garage edge. Measure and note cutoff position, then adjust in small steps. This works best when you can compare both lamps side by side and keep the car square.
how to properly adjust headlights
Set the vehicle level, account for tire pressure and cargo, and aim the low-beam cutoff to the correct target height. On a wall setup, that means headlight height minus 2 inches at 25 feet. Keep the beam symmetric and avoid over-correction.
What tools do I need to adjust headlights by hand?
You need a tape measure, masking tape, and a Phillips or flathead screwdriver that fits the adjusters. The owner’s manual helps identify screw locations, which vary by vehicle. A level parking spot and a safe reference surface are also part of the job.